In the visually-driven digital world of today, the quality of an image and video can make or break the impression it creates.
Whether it’s for professional use in graphic design and photography, or personal use in social media posts and profile pictures, high-resolution images are a must. However, not all images are created equal, and sometimes, we’re left with low-resolution images that need a bit of a boost. This is where CapCut’s AI image upscaler comes into play.
Just like crop video features, CapCut’s AI image upscaler is a powerful online tool that uses artificial intelligence to upscale images without losing their natural look and quality. It can transform low-resolution images into high-resolution masterpieces, enhance details, sharpen edges, and even remove noise. What’s more, it’s free to use and works with a variety of image types, making it a versatile tool for all your image upscaling needs.
In this article, we will provide a detailed, step-by-step guide on how to use CapCut’s AI Image Upscaler. From uploading your image to selecting the desired resolution and finally downloading your upscaled image, we’ve got you covered. So, let’s dive in and start transforming your images from low-res to high-res!
Understanding AI Image Upscaling
In this section, we’ll delve into the concept of AI image upscaling, its benefits, and what sets CapCut’s AI Image Upscaler apart from other tools in the market. Let’s demystify these concepts to better understand how this technology can transform your images.
What is AI Image Upscaling?
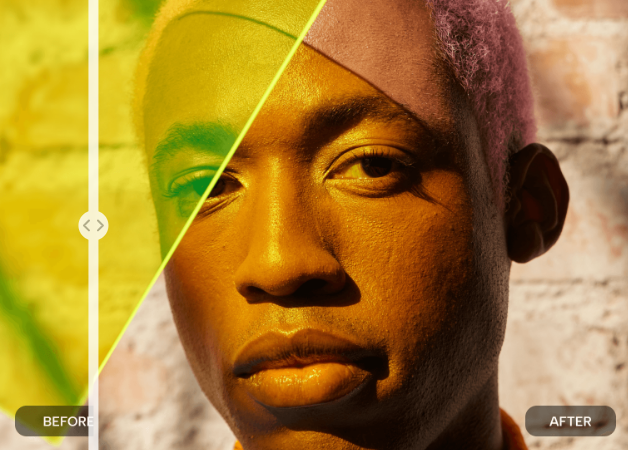
AI Image Upscaling is a technology that leverages artificial intelligence algorithms to enlarge an image while preserving and enhancing its original details. Unlike traditional upscaling methods that often result in pixelation or blurriness, AI image upscaling intelligently fills in the missing details, ensuring the image remains sharp and clear even as its size increases.
Benefits of Using AI for Image Upscaling
The advantages of using AI for image upscaling are manifold. Primarily, it enables a significant improvement in image quality, converting low-resolution images into high-resolution counterparts. This is a game-changer for graphic designers, photographers, and anyone who regularly works with digital images. Moreover, AI upscaling can breathe new life into old or damaged photos, restoring them with remarkable clarity.
How Does CapCut’s AI Image Upscaler Stand Out?
CapCut’s AI Image Upscaler distinguishes itself through its advanced AI algorithms and user-friendly interface. It doesn’t just upscale images; it enhances them by denoising and adding intricate details, resulting in visually stunning outputs. Furthermore, its versatility is commendable, capable of processing a wide range of photos, including original shot pictures, drawings, and generated ones. This adaptability makes it a powerful tool for diverse needs such as image creation, graphic design, and photo editing.
In the next sections, we’ll walk you through the step-by-step process of using CapCut’s AI Image Upscaler. Stay tuned!
Step-by-Step Guide to Using CapCut’s AI Image Upscaler
Now that we’ve explored what AI image upscaling is and the benefits it offers, it’s time to dive into the practical aspect. In this section, we’ll provide a detailed, step-by-step guide on how to use CapCut’s AI Image Upscaler. From uploading your image to choosing the desired resolution and finally downloading your enhanced image, we’ll walk you through each step of the process. Let’s get started!
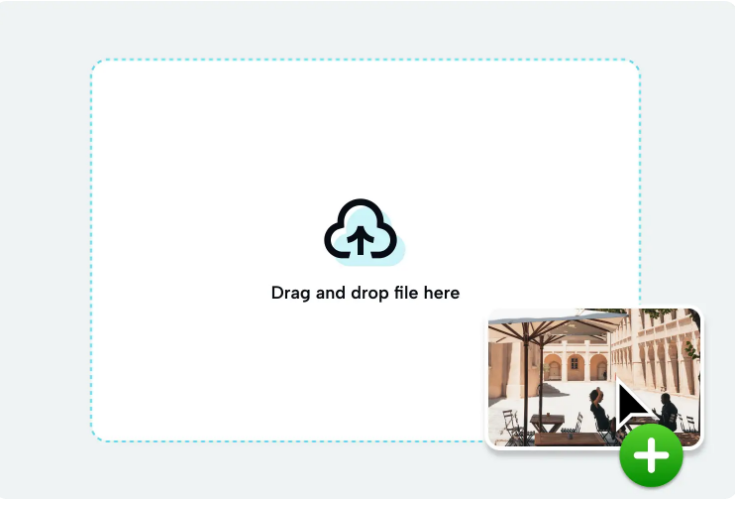
Step 1: Uploading the Image
The first step in using CapCut’s AI Image Upscaler is to upload the image you want to upscale. The tool allows you to upload images from various sources, including your device, Cloud storage, Google Drive, or Dropbox. Simply navigate to the AI Image Upscaler page on CapCut’s website and click on the upload area or drag and drop your image file.
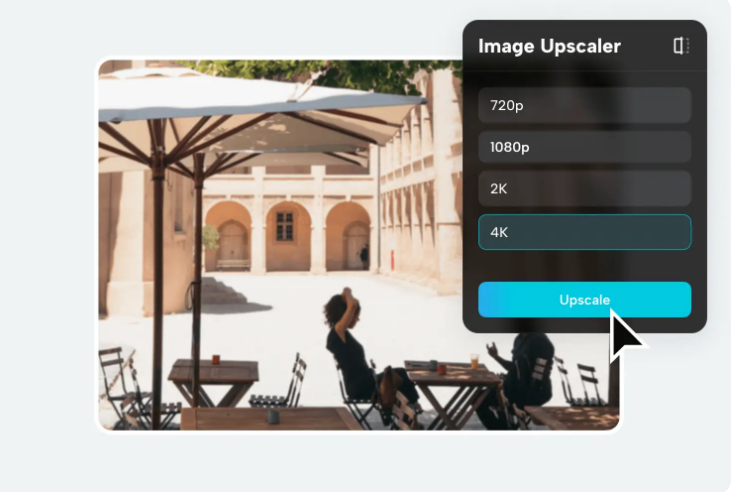
Step 2: Selecting the Desired Image Resolution
Once your image is uploaded, the next step is to select the desired resolution. CapCut’s AI Image Upscaler offers several options, including 720p, 1080p, 2K, and 4K. Select the resolution that best suits your needs. If you want to explore more editing features, you can click on the ‘Edit more’ button located at the top right corner of the page.
Step 3: Downloading the Upscaled Image
After you’ve selected the resolution, the AI Image Upscaler will process your image. Once it’s done, you can download your upscaled image by clicking the ‘Download’ button. If you want to try out more of CapCut’s tools, you can navigate through ‘All tools’ on the top left corner of the page.
Conclusion
In conclusion, CapCut’s AI Image Upscaler is a powerful tool that can significantly enhance the quality of your images. With its user-friendly interface and advanced AI algorithms, it makes the process of upscaling images not only effective but also enjoyable. Whether you’re a professional graphic designer looking to enhance your creations, a photographer aiming to bring old photos back to life, or simply someone who wants to improve their social media images, this tool is a game-changer.
We hope this step-by-step guide has provided you with a clear understanding of how to use CapCut’s AI Image Upscaler. Remember, the key to mastering any tool is practice, so don’t hesitate to experiment with different images and resolutions. Happy upscaling, and we look forward to seeing your high-resolution masterpieces!